Lessons
Our series are curated collections of lessons that walk through a specific topic from beginning to end. Series are a great way to learn a topic in a structured way.

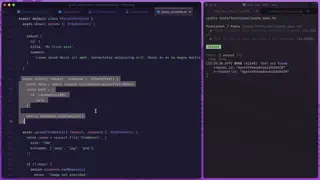
Authentication in Browser Tests
In this final lesson, we'll learn how to use AdonisJS Authentication with the Browser Client. We'll install and configure the Session and Auth browser plugins and visit an auth-protected page to show how it all works.

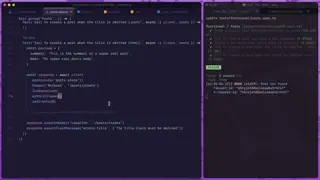
Testing Browser Form Submissions & Validation Feedback
In this lesson, we'll learn how to test form submissions and validation using Japa's Browser Client and Playwright. We'll programmatically fill and submit our form and assert the visibility and contents of our validation errors.


The Browser Client
In this lesson, we'll softly introduce Browser Testing, which allows powerful DOM assertions, in AdonisJS using Japa's Browser Client and Playwright. We'll get everything installed and configured and write our first simple test.


Piecing It All Together
In this lesson, we'll piece everything we've learned thus far together and create functional tests for a route allowing the authenticated user to change their email. This encompasses authentication, email sending, database records, and more


Testing Authorization with Bouncer
In this lesson, we'll learn to test AdonisJS Authentication with Bouncer for actions like deleting a post. We'll cover happy paths where authorization is granted and sad paths where authorization is denied and the action is forbidden.


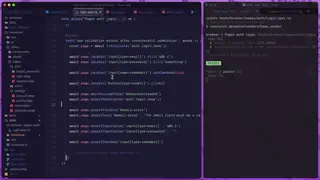
Testing Auth Protected Routes
In this lesson, we'll learn how to test auth-protected routes via the auth middleware and non-auth-protected routes via the guest middleware. We'll ensure our user is redirected appropriately and shown a flash message where applicable

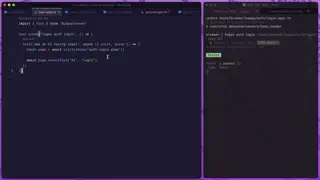
The Auth Plugin
In this lesson, we'll learn how to test authenticated routes in AdonisJS/Japa. First, we'll install and register the Auth API Client plugin. Then, we'll learn how to use our User Factory to create a user and login as them for our test's request.
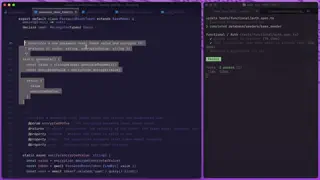

Testing Model Logic
In this lesson, we'll learn how to Unit Test AdonisJS Model logic using Japa. We'll test a password reset token's validity to show instance-level tests. Then, we'll test its generate and verify methods to show static methods.


Testing with Lucid Model Factories
In this lesson, we'll learn about AdonisJS Model Factories and how we can use them to create realistic, yet fake, test data. We'll create a few factories we'll use in this series and learn how we can stub or create data with them in tests.


Testing Database-Driven Endpoints
In this lesson, we'll learn how to functionally test a registration endpoint using a test database. We'll learn about global transactions and how we can use them to easily reset our database between tests and confirm database state with Lucid.


Database Test Runner Hooks
In this lesson, we'll learn how to set up a dedicated test database to ensure clean, isolated testing. We'll configure a separate SQLite database using a test environment variable and set up Japa runner hooks to automatically migrate and seed our database


Testing File Uploads
In this lesson, we'll learn how to test AdonisJS file uploads using Drive Fakes and the Japa API Client. We'll generate fake files for testing, use a multipart request, assert successes, test validation failures, and impress the importance of cleanup.


Asserting OpenAPI Specifications
In this lesson, we'll learn how to validate AdonisJS API responses against an OpenAPI Specification, like those generated by Swagger APIs, using Japa's OpenAPI Assertions plugin.

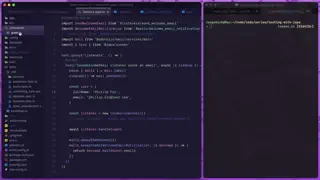
Asserting JSON Structures
In this lesson, we'll learn how to test fetching a list of items functionally. Assert a successful response, confirm the body is as we expect, check object structures, and loosely validate response data.

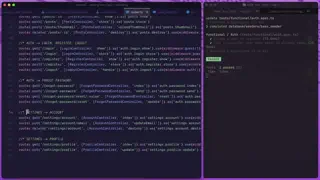
testing VineJS Validations & Working with CSRF
In this lesson, learn Functional Testing for POST requests. We'll cover sending JSON and form payloads and how to assert validation errors. We'll also discuss how to set up and use CSRF protection with the Session and Shield plugins.

Testing Ace Console Commands
In this lesson, we'll learn how to test AdonisJS Ace Commands with Japa. We'll cover how to instantiate and execute the command, while passing arguments and capturing prompts. We'll also discuss asserting logged statements sent from the command.
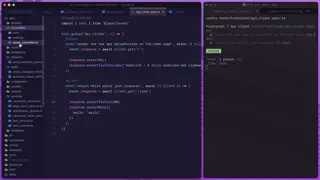

Testing GET Endpoints
In this lesson, we'll write Functional Tests to test an AdonisJS route using the Japa API Client. Learn to test happy paths by asserting successful responses and sad paths by asserting purposefully failed responses.


Meet the API Client
In this lesson, learn how to use Japa's API Client for Functional Testing of AdonisJS routes. We'll install and register the plugin, and use the client in tests to make requests and assert against their responses.
Showing 1 to 18 of 460 results