00:02
- Now, before we actually create our AdonisJS project, we have some prerequisites to get out of the way. First and foremost, we're gonna need a text editor
00:11
to actually work within. Throughout the series, I'm gonna be using a text editor called Visual Studio Code. You can download it from code.visualstudio.com if you would like to use the same one that I am,
00:21
or if you're already comfortable with a preexisting text editor, feel free to continue onwards with that. Now, we're also gonna need Node.js. Node.js is the underlying environment that AdonisJS runs within.
00:31
So that's what's actually going to execute our server and get us up and running. So for that, you can either head to nodejs.org and download it from there. It will walk you through a setup process
00:41
to get that installed within your system if you go with this approach. For AdonisJS version six, you will want at least version 20 or higher. So the LTS or long-term support version
00:51
will be perfectly acceptable for that. If you wanna go for the latest features, that one should work A-okay as well. Now, an alternative approach to nodejs.org's download is you can use a Node package manager.
01:01
For that, I like to use FastNodeManager. It's pretty quick and easy to get set up with your environment as it's cross-platform and it also supports a number of different shells.
01:10
So I already have the LTS version 20 of Node.js installed, but you can go ahead and give this script here a copy, head into your terminal, paste it in. If you're using Bash,
01:20
you'll be okay to just go ahead and hit Enter there. Otherwise, you can backspace that and either enter in zsh, and it also supports phish shells as well. Once you install that,
01:29
it will register it within your path. So you may need to restart your terminal. So just go ahead and close out and reopen it back up. And now we should have the command fnm readily available to us.
01:39
We could do --help to see the help commands for it. Scroll up a little bit and you'll see the actual commands. The one you're most likely interested in for right now is install. To install the long-term support version,
01:49
you would just need to run fnm install --lts, and that will install the long-term support version, after which you should be able to run
01:57
node --version and see that version printed out. Cool. So now we have Node.js installed, if you followed along with either one of those two approaches. Again, make sure you have at least version 20 there.
02:07
Cool. So next we're going to need a database environment. This won't come into play until later on, but it'll be good to get it out of the way and install it now. So AdonisJS supports a number of different relational database environments.
02:17
So we could use something like MySQL, Postgres, MS SQL or Microsoft SQL, SQLite or MariaDB. If you already have one of these installed on your system,
02:26
you'll be a-okay to move onwards. Just note that whenever we get to that step, you'll just want to install the appropriate driver. Everything else that we'll do within the series from there on should work exactly the same,
02:36
regardless of the database driver that you're working with. If you don't have one installed, I'll be using Postgres SQL. You can go ahead and download it from here. Again, that should just walk through you some steps.
02:45
And then once you're finally installed, you should have an application called pgAdmin. Now, the first time pgAdmin opens up on your system, it's probably going to ask you to set a password.
02:54
You'll want to remember that password, since it's just on your local system, you can make it something relatively easy to remember. For example, mine is just password. So I'm going to go ahead and hit okay here.
03:03
On the left-hand side, we have a list of our servers. We're just going to have the one server version that we have installed. I have Postgres SQL 14. And then it's also going to list out our databases.
03:13
These are all the databases I have installed locally on my system. Don't worry too much about that. You probably won't have any. Just right-click on databases. You can hit create database, give it a name. For this series,
03:23
let's go ahead and call our database Adonis6. Note the owner is Postgres. So whenever we need to actually connect to this database, we'll be able to use this as a username and then whatever password we set as the password.
03:33
So you will want to remember the password. And then if your owner is Postgres, I'll help you remember that whenever we get to that time. If you've set your owner to something different, you'll want to remember that. Okay, let's go ahead and hit save there.
03:43
And we have successfully created our database. At this point, it will be empty, but we can just leave it empty. Cool, so let's go ahead and close out of pgAdmin. So the last thing you may want to install on your system is called Redis.
03:53
We're going to use Redis a little bit in this series. I think we only use it for two lessons throughout it. So it's definitely optional as it can be a bit of a pain to install on Windows,
04:01
and it's not going to alter the end goal with where we're headed anywhere, which is using it for demonstration purposes in this series. But at a high level, Redis is an in-memory store
04:10
that we can use as a database. It's really quick to set information in and get information from. So it's fantastic for caching and for message brokering and things like that.
04:20
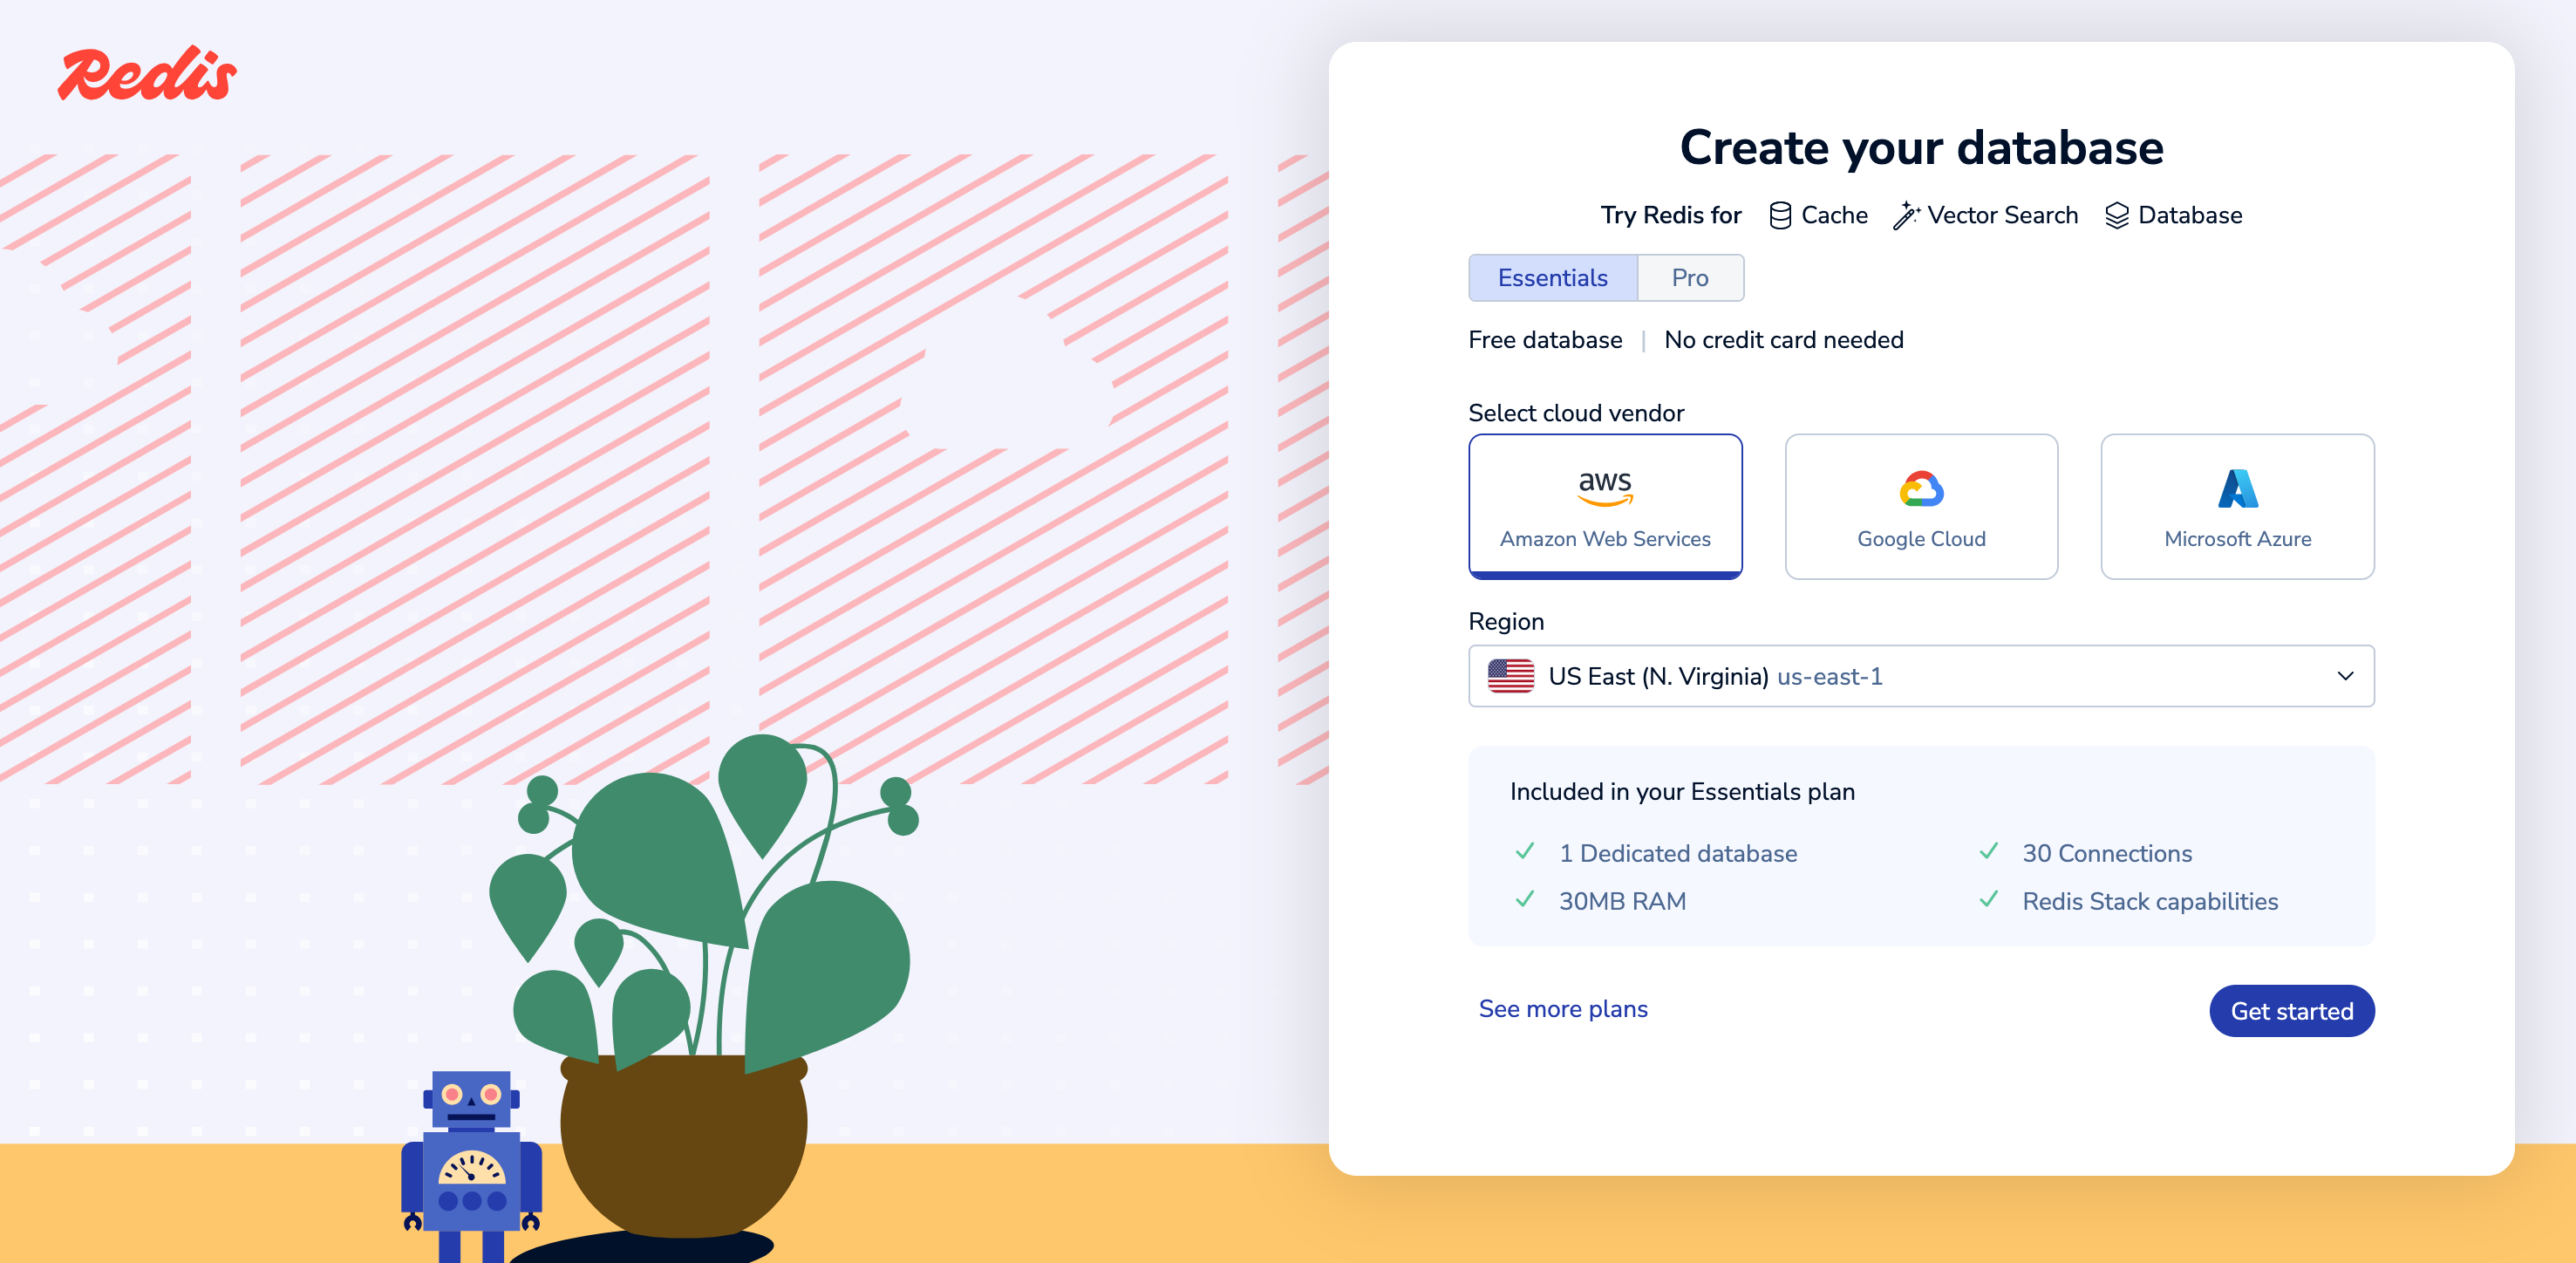
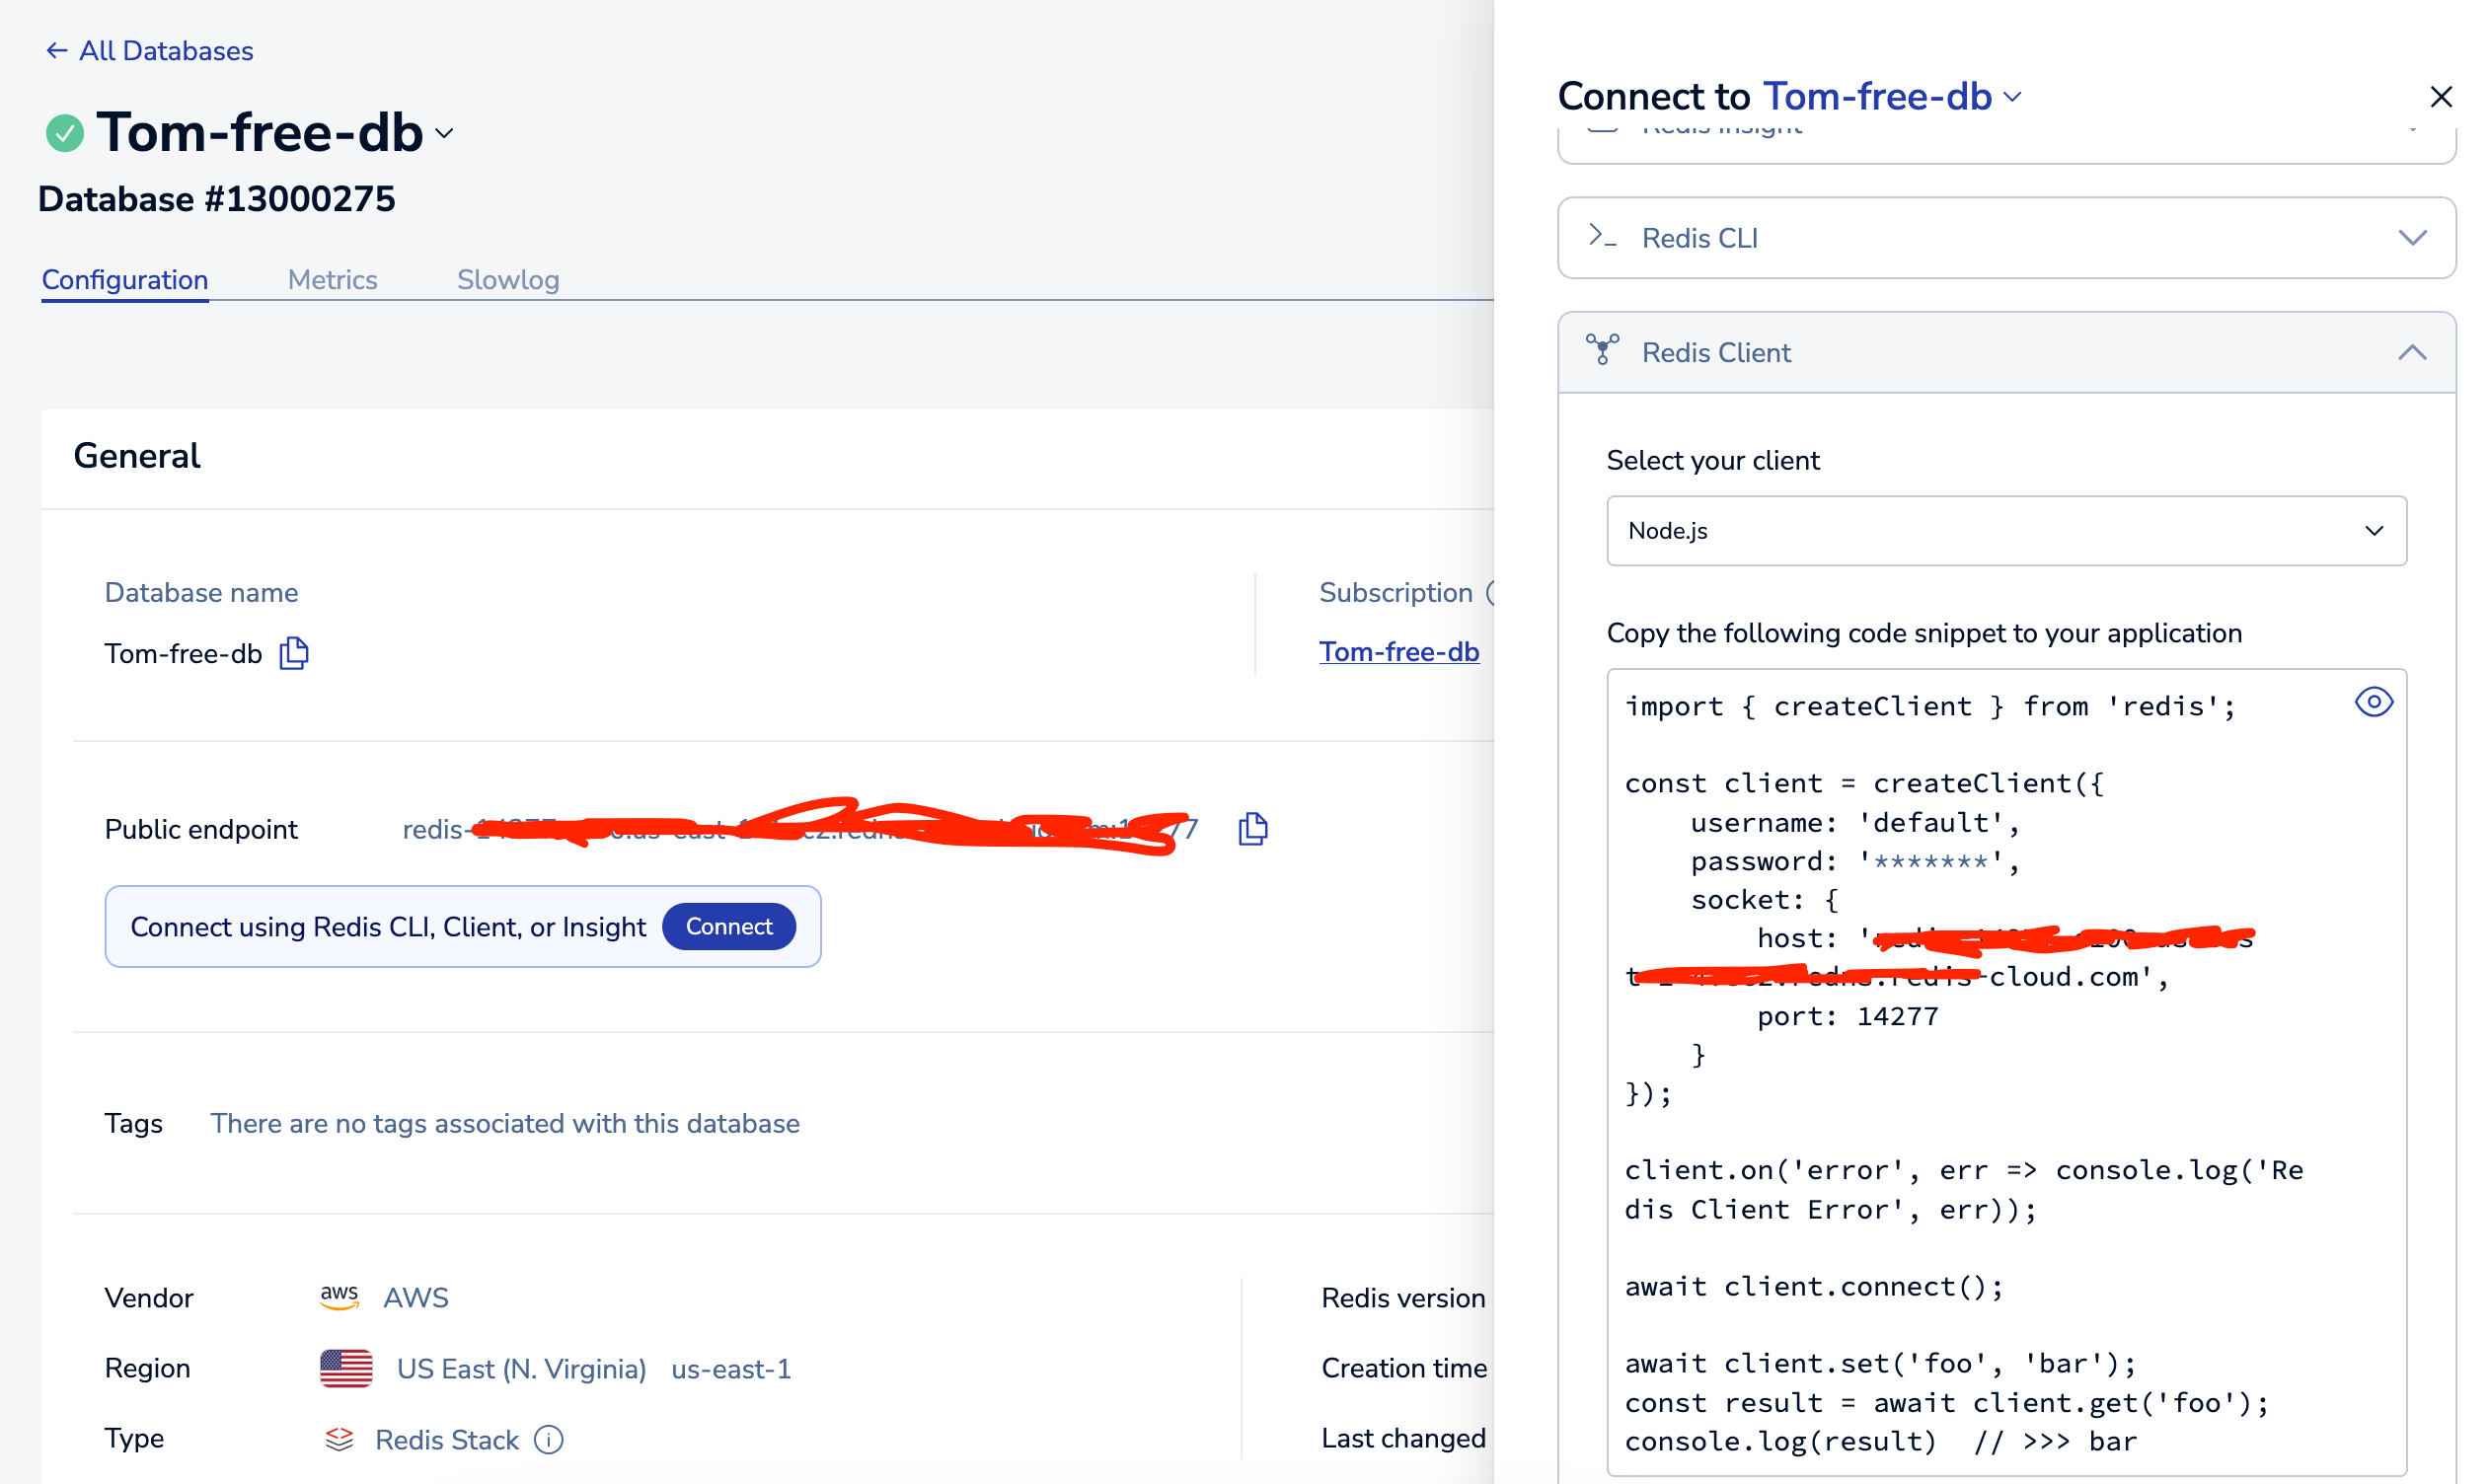
So this one's going to vary a little bit depending on your system. So head on over to redis.io. /docs/install/installredis.
04:28
And from here, you'll be able to select based on your system if you're using Linux, click here. If you're using macOS, click there. And lastly, Windows there. I'm using macOS, so I'm going to click on macOS here.
04:38
Cool. So for macOS, it's going to assume that you have Homebrew installed, which I do. But to verify that, you can run brew-version. So we'll jump back into our terminal here. I'll go ahead and clear this out
04:48
and type in brew-version. Cool. And I see Homebrew 4.2.2 printed out. So I do indeed have it installed. And then lastly, we can go ahead and install Redis
04:57
by doing brew install redis. So brew install redis. I already have this installed, so I'm going to skip actually executing this. But if you don't have it installed and you happen to have macOS, go ahead and give that a run
05:07
and it should install it for you. Then we need to just actually start and stop the service. So redis-server, we'll start it in the foreground, but it would be great to have it running in the background
05:16
so that we don't need to dedicate a terminal shell to just running Redis. So we can start in the background by running brew services start redis.
05:24
So we can do brew services start redis, and that'll get it up and running. I already have it running, but we can go ahead and execute it and it should just show that it is already running. There we go.
05:34
Cool. So again, we don't need to do anything with Redis at this point in time. That'll come later on whenever we get to talking about caching and all that fun stuff within this series. So we have our environment set up.
05:44
So now we're actually ready to go ahead and create our project. So let's do that in the next lesson.


