00:09
want them in two different places. We're going to want them on this current page, but also on our courses show page. So as we start adding this functionality in for our courses, let's go ahead and just plop
00:19
it on an external component so that we can make use of it easily inside of both of these pages without having to refactor anything. So within our components, we can right click on that new file and we'll just call this
00:29
our course actions dot view. We'll get our script set up line TS for that, and we'll start with our props, define props
00:37
with a type, and this should just need our organization. So we'll get that important. We will make use of our use resource actions.
00:45
So we'll grab our form, dialogue, destroy, and on success out of that use resource actions,
00:53
giving it a type of our course DTO and a default form states of name with an empty string
01:00
that is ID, which we can grab from our props organization statuses. And our default option there is at the first index. So we can just do zero there for that.
01:10
Once we order these by the user's custom order and the first index of that order is always the default option. And we just want to grab that ID.
01:17
And then again, to make this compatible with Shotzi and Vue, convert that to a string. And go ahead and give that a copy and paste it two times for our access levels and difficulty
01:27
as well. So replace statuses here with difficulties, and then also our access level ID, replacing statuses with access levels for that one.
01:36
Let's then move into our template and start getting that added. We can first add our form dialogue component inside of here.
01:42
We'll want a form input and we can self-close that, give it a label of name, a view model
01:48
of form name, when our error, do our form errors name, and we can also give it a placeholder text of my cool course or whatever you'd like there.
01:58
Then we want to do another form input. This one's going to be a type of select with a label of access level and a view model
02:07
of form access level ID and an error key pointing to our form errors access level ID.
02:15
For the select items, we're going to want to loop over, so V4, each access level in our props organization access levels.
02:23
We can give that a key of level.id and a value of level.id. And then again, to make that compatible, we can convert that to a string.
02:32
The display text for that will then be level.name. Then you guessed it, we want to do that two more times. So let's give that form input there a copy and paste it in here two times.
02:42
Under our access level, we'll add in our status field, replacing access level with status ID, status ID.
02:49
And then instead of reading from access levels, we want to read from our statuses. And then we can replace level with status there, there, there, and there.
02:58
Then for the second one, we can replace level with difficulty, just the same as we did before.
03:04
And then update the text for our label to difficulty, then the model to difficulty ID and our errors to difficulty ID as well.
03:12
Lastly, we want to read from our difficulties off of our organization. For the form dialog itself, let's give it a resource of course.
03:20
Find the view model open key to our dialog is open. Specify whether or not we're editing with dialog resource ID and whether or not it's
03:30
processing with our form processing flag. And for right now, let's just handle the create event.
03:36
Let's have that do a form post out to slash courses and then passing our on success in along with that.
03:43
Now to give ourself access to our use resource actions, its dialog form and all that fun stuff outside of this component in our pages, we're going to want to expose some methods for this
03:52
so that we can use view references to reach directly for those methods outside of this component to open, edit, delete, and the like. So let's scroll back up to our template here.
04:02
We'll add in a function called on create that calls our dialog value open method. Now it would also be great to go ahead and set focus to our name field, which is the
04:12
first field inside of this form when the dialog is open. So to do that, let's add a ref all this dialog focus L and let's scroll back up to our templates
04:22
and add in a const dialog focus L and set that to our ref. And we can also do command dot and add an import from view.
04:30
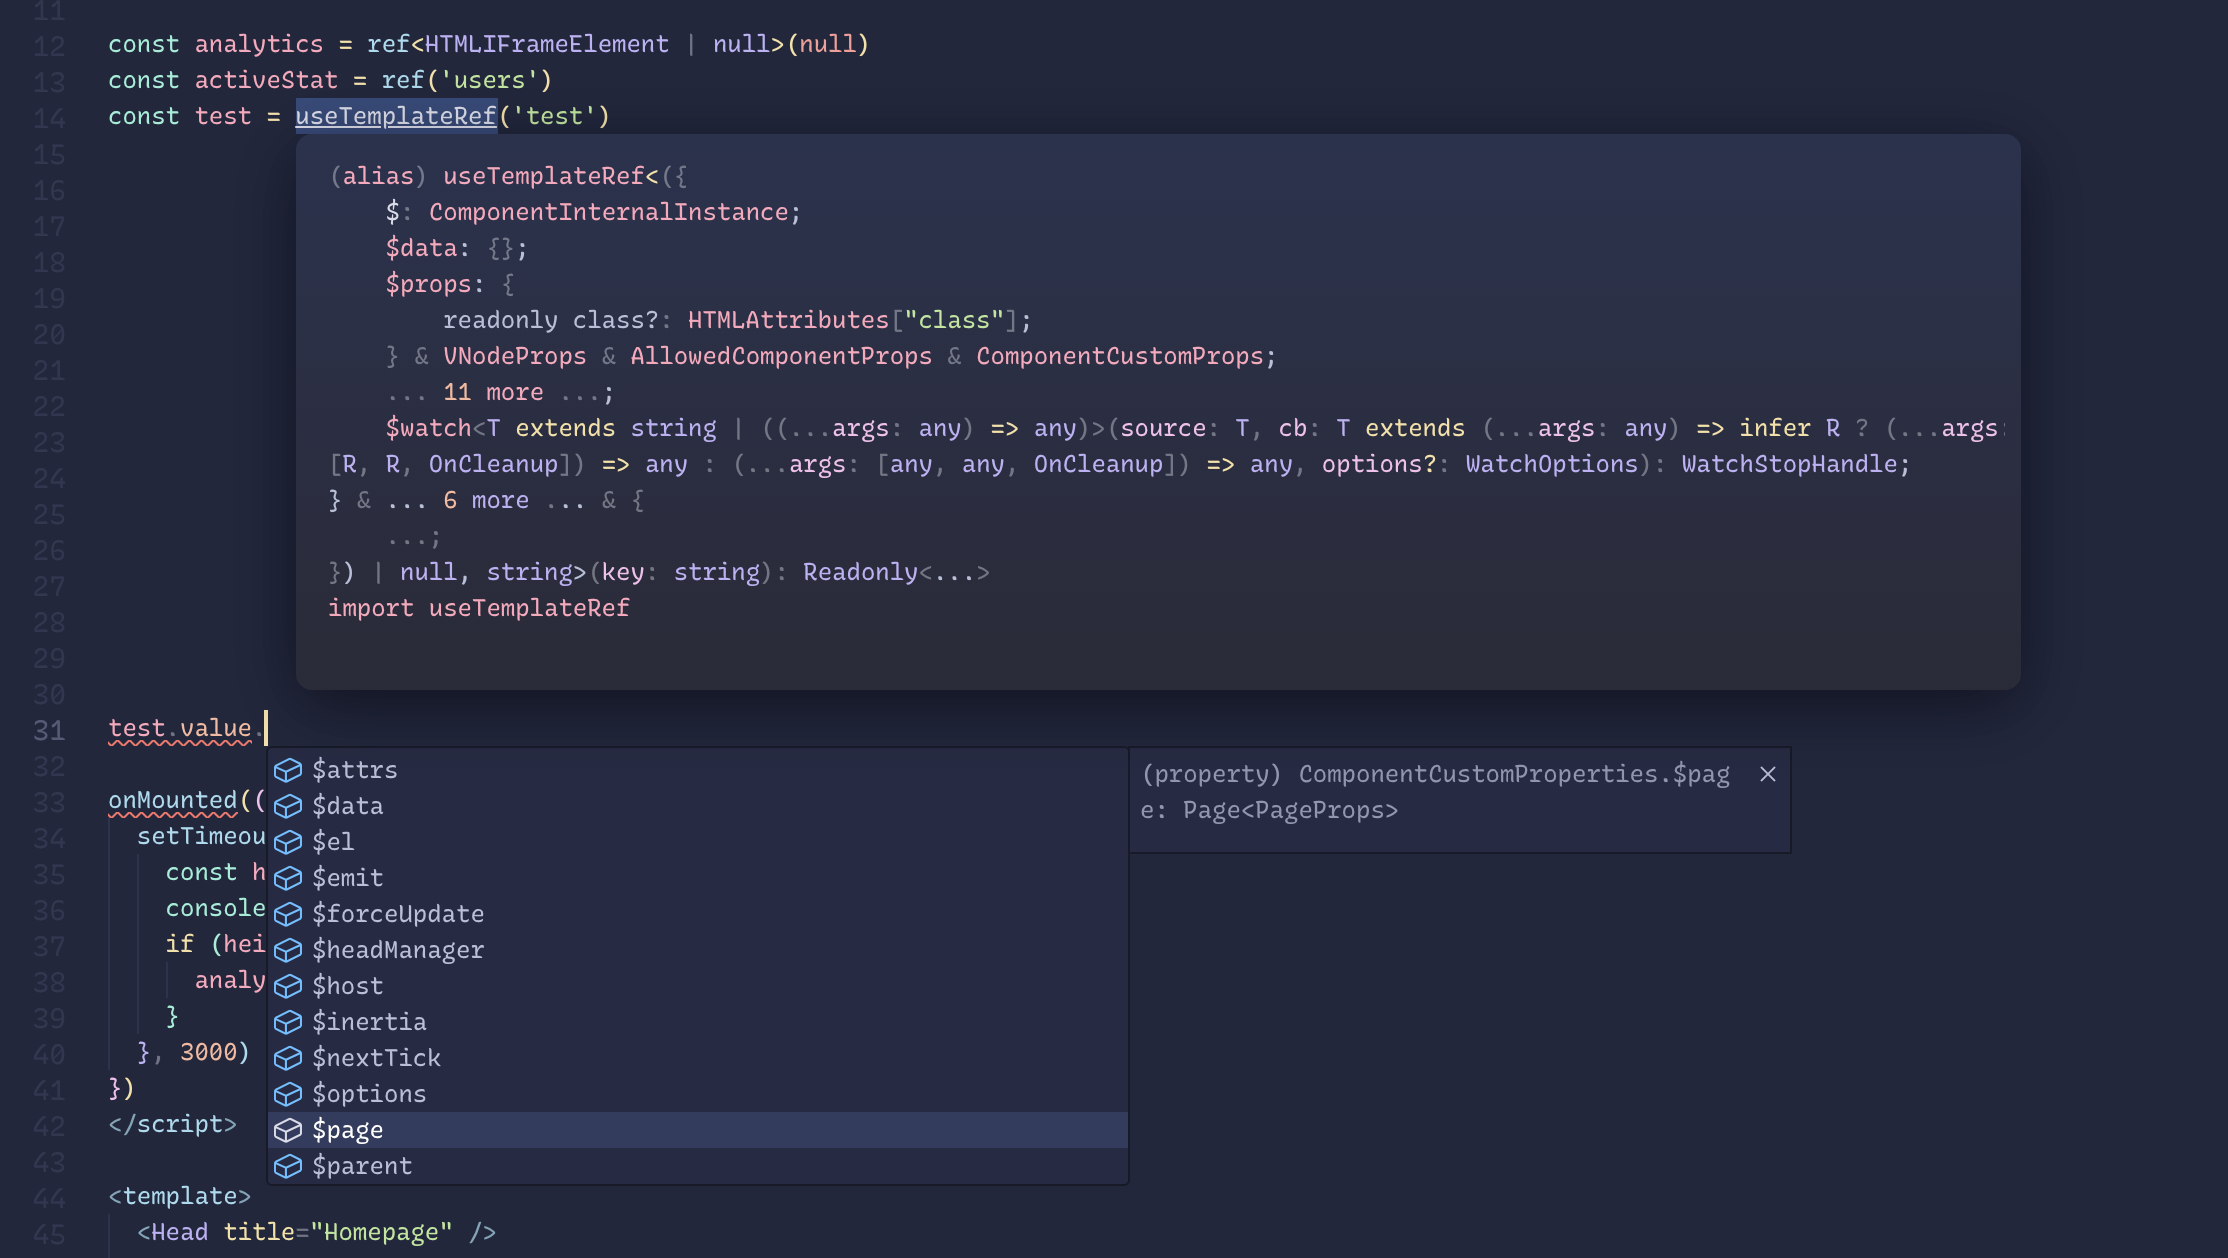
Now a small note on refs here, as of view 3.5, there's a new use template ref function that you can use to grab a ref rather than using the actual ref method from view to do
04:40
so. We are still on view 3.4 with this project at present. So I'm going to leave these as the old fashioned just ref here where the name of the ref matches
04:50
the actual ref that we assign the input. The alternative in view 3.5 would be use templates ref, and then you would pass dialog focus L
05:00
or whatever that ref value is inside of your input or element into that function and it would return back the same. So if you're already on view 3.5, feel free to use the new approach.
05:09
This old approach still works perfectly fine in view 3.5. So we're just going to go forth with using refs this way in the series. Then actually set the focus to this.
05:16
Let's go ahead and use next tick from view, import that and reach for our dialog focus L value.
05:23
Now we need to reach through our form input to an input L, which we also need to set up inside of our form input. So let's grab the element from that and then call focus.
05:32
So in order to be able to access our input L, that means we also need to jump into our
05:36
form input, add in a const input L ref, import ref once more, and then scroll down to our different inputs and add them.
05:44
So we don't want to add it to the color picker one, but rather we'll add it to the text based hex input.
05:50
So ref equals input L, we can add it on our select here as well.
05:55
Ref equals input L, scroll down to our VLs and add it here to ref input L.
06:01
We also need to scroll up to our script and define expose to expose that input L so that we can access it outside of this component as well. Okay, cool.
06:10
We can jump back into our course actions and now this should work and set focus to our input whenever we open this dialog. Then we need to expose it outside of this function.
06:19
So we'll do define expose, pass an object into that and make this accessible via create and set the value for create to our on create function.
06:27
With that, we can now jump back into our courses index page, scroll down to the bottom.
06:31
Let's add our course actions component, set a ref for that to actions, and then pass our organization prop in.
06:40
We'll scroll up to the template now and add a ref for that action. So const actions equals ref. And with that, we should now be able to bind an event to our button.
06:49
So at click equals reaching for our course actions component with our actions ref and calling the exposed create function off of it to open up our create dialog.
06:59
If we give this a save, let's jump back into our browser real quick and give that a test. I'm just going to refresh, click on add course, and sure enough, there it is. Let's make sure our access levels here are populating.
07:08
Okay, so we probably need to add these preloads to our organization yet. So let's go ahead and close that dialog out, jump back into our text editor for our organization.
07:17
We're initiating that share inside of our app middleware organization middleware. And right here, we're calling get active organization to get the active org.
07:25
Right here is our base query for this. This is where we want to add those preloads in.
07:30
So off of the query, let's add a preload for access levels, another preload for difficulties,
07:37
another one for our statuses, and now those should work for us. So if we jump back into our browser one more time, let's give it a refresh just to make sure everything's populated there.
07:47
Okay, add courses, and awesome, there we go. Now our default values are showing up, and so too are our various select options.
07:55
That just leaves us with needing to add the ability to save a course. Let's do node ace make action, put this inside of our courses directory, and call this store course.
08:04
Clear that out, and we also want a node ace make validator for our courses as well. Clear that out once more, and let's go jump into that validator.
08:13
So validator course, and we'll be able to use this for both our create and edit, so we'll just call this our course validator, put that equal to vine with metadata, and
08:22
we want to set that to our organization metadata to require our organization to be passed in.
08:27
Set that to compile, vine object, set the name to vine string with a max length of 150
08:35
characters, and we'll have our status ID of type vine number, and we can make use of our
08:40
reusable exists function for exists in organization, passing that our statuses table.
08:47
Let's go ahead and give that status ID line a copy and a paste two more times, replacing one with our difficulty ID, and then the other with our access level ID, and again, switching
08:57
the table to difficulties and access underscore levels. Now we're not going to add a form field for this, but you can if you'd like, but we also
09:05
have a notes property for vine string, and we can make that optional there too. Okay, next let's jump into our action and fill that out, so jump into our courses, store
09:14
action, store course, we'll want our organization of type organization, as well as our data,
09:20
which we can infer from that course validator that we've just set up, extract our organization
09:26
and data, and then return organization related courses, and call the create method, passing
09:32
in that validated data, but just like we did with our difficulty statuses and access levels,
09:37
we also want to pass in the next order as well, so let's add a static async private method
09:43
called find next order that takes in the organization of type organization that gets the last course
09:51
with the current sort, so we'll await organization related courses and query off of that using the order in a descending fashion.
10:01
Then we just want to grab the first as that's all that we care about, and also add a select onto here as well for the ID, just to omit all the unnecessary properties.
10:10
From that last item, we want to return back a ternary check, checking to see if we got a last item, if we did, then we want to take that last order and increment it by one, otherwise
10:20
we'll set the default order for these to one, and then for our order inside of our handle,
10:25
we can set that to await this find next order, passing that organization in, that should now
10:32
leave us with just needing to update our courses controller and our route for it, so an async
10:37
store request response and organization from our HTTP context, and we need to first validate
10:44
our data using await request, validate using, pass in our course validator, and then we also need to pass in that metadata, so we do with organization metadata, passing in
10:54
that organization ID for that, then we want to do const horse equals await store our course
11:01
and call the handle method, passing in our organization, as well as that validated data, and then we can return response redirect, and we will want to switch this to actually
11:11
dive into that courses details page, but we haven't created that quite yet, so let's currently
11:16
just go ahead and return back for that, and I'll set a to do to remind us to update that.
11:22
Okay, let's go ahead and now jump into our web routes, router.post slash courses, using
11:28
our courses controllers store method as courses store, give that a save, and while we're in
11:35
our text editor, I think we also forgot inside of our organization HTTP get active organization
11:41
to order these preloads accordingly as the user has them set, so we also want to add
11:47
a query onto this where we will order by the order property for them, and give that line there a copy and paste it into the difficulties and statuses there as well, okay, and close
11:57
that back out, and we should now be good to jump back into our browser and click our add course button, and call this our course test two, give it an access level of paid,
12:06
a status of, let's say, recorded, and a difficulty of medium, just setting those slightly off from the defaults to make sure they work, add our course, and it looks like we're getting
12:15
an error, invalid input syntax type integer, and it's getting NAN, so let's first make sure that all of our IDs are posting up okay, so let's right click, inspect, and get our
12:25
console open, add course, course test two, let's make sure that we get all the same selections here, so let's see, recorded, and medium, add course, and let's check out what the post
12:35
data was for that request, so we have access level ID, difficulty ID, and status ID all going up, which must mean that the integer that's coming through as NAN is our order,
12:45
so let's jump back into our text editor, go back into our store course, and let's move our await by next order prior to our create call, plop that into an order field so that
12:55
we can console log what it is, console.log our order, give that a save, and let's jump
13:01
back into our browser now, give this here a refresh, add new course, course test one, I'm just gonna leave all the defaults this time, add course, and let's go check out our
13:09
terminal, and jump over to the tab where the server's running, and sure enough, our order is indeed NAN, so that's the issue, let's jump back into here, okay, so we have our awaits,
13:17
so we shouldn't be having a promise there, um, oh, we're just selecting the ID, we also need to select that order column, okay, my bad, omitting that resulted in that value
13:27
not being populated on our last item, so whenever we try to reference that and plus it by one, then we get NAN, so, okay, that makes sense, let's jump back into our browser
13:35
now, and let's give everything here a refresh, just to make sure we're working with latest, add new course now, course test two, and let's go back to the same selections that
13:43
we had before, just to make sure that we're going away from the defaults, ensuring that everything works okay here, add new course, there we go, now we got course test two, status
13:51
is recorded, medium, and paid, and then let's do one more, course test three, with those defaults to make sure those defaults work okay too, and they sure enough do.