In this lesson, we’ll be learning how to add Naive UI, a Vue 3 UI component library, to our Inertia and Vue 3 application. This will allow us to easily add complex components to our application. Then, we’ll add “Import on Demand” for Naive UI. With this, we won’t need to manually import or register Naive UI components in order to use them, it’ll just be automatically done for us.
Also, in case you were wondering, Naive UI comes complete with a large number of easily customizable components, you can check out the full list here. Additionally, their styles are well scoped and won’t collide with TailwindCSS.
So, let’s start by getting Naive UI installed and configured within our application.
Installing Naive UI
First, let’s start by getting Naive UI installed within our application.
npm i -D naive-uiCopied!
Optionally, we can also add XIcons, an icon library that Naive UI supports. XIcons offers several different icon collections including Fluent, IonIcons, Antd, Material, Tabler, and Carbon.
To keep things simple, we can target a specific icon set to install. I’ll be installing the Fluent set for this series.
npm i -D @vicons/fluentCopied!
Testing It Out
To ensure Naive UI is installed okay, let's test it out on our Home page component.
<template> <div> <Link href="/login">Login</Link> <h1 class="text-red-500">Testing, {{ testing }}</h1> <n-button>Testing</n-button> </div> </template> <script> // resources/js/Pages/Home.vue import { Link } from '@inertiajs/inertia-vue3' import { NButton } from 'naive-ui' export default { props: { testing: String }, components: { Link, NButton } } </script>Copied!
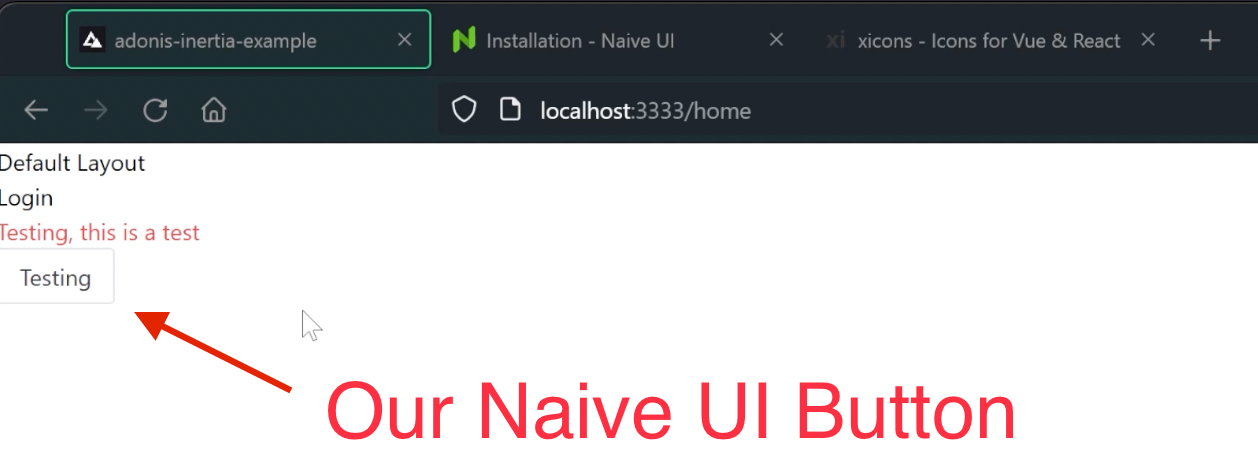
That should get a styled Naive UI button added to our /home page. So, go ahead and boot up your server and you should see something like the below.
Adding Import on Demand
Now that we’ve got Naive UI installed and verified it’s working okay, let’s go ahead and get Import on Demand setup so we won’t need to manually import and register components. We’ll instead be able just directly to use them and Webpack will then take care of the import and registration.
For this, we’ll want to install another dependency.
npm i -D unplugin-vue-componentsCopied!
Once that’s installed, dive into your webpack.config.js file and add the following imports to the top of the file.
// webpack.config.js (top) const Components = require('unplugin-vue-components/webpack') const { NaiveUiResolver } = require('unplugin-vue-components/resolvers')Copied!
Components here is a Webpack Plugin, we need this to register our NaiveUiResolver. The NaiveUiResolver, as you can probably guess from the name, will then handle resolving our used Naive UI components so we don’t have to.
With those imported, let’s scroll down to the Vue Loader section of our webpack.config.js file, near line 191, and add the Components Webpack Plugin and our NaiveUiResolver.
// webpack.config.js (near line 191) Encore.enableVueLoader(() => {}, { version: 3, runtimeCompilerBuild: false, useJsx: false }) Encore.addPlugin(Components({ resolvers: [NaiveUiResolver()] }))Copied!
Now that our NaiveUiResolver is added, we’re good to go ahead and remove the import and component registration for our test button from our Home page component.
<template> <div> <Link href="/login">Login</Link> <h1 class="text-red-500">Testing, {{ testing }}</h1> <n-button>Testing</n-button> </div> </template> <script> // resources/js/Pages/Home.vue import { Link } from '@inertiajs/inertia-vue3' export default { props: { testing: String }, components: { Link } } </script>Copied!
Be sure to leave the actual button so we can ensure our Import on Demand is working. Once those are removed, go ahead and boot your server back up and you should see the page looks the exact same as before and you should have no errors within your console!
