If you’ve tried using TypeScript within your Vue 3 application inside an AdonisJS project, chances are you might’ve run into some hiccups in doing so since AdonisJS uses TypeScript as well. In this lesson, we’ll walk through the steps needed to set up a Vue 3 application with TypeScript inside an AdonisJS project.
Creating Our AdonisJS Project
First, let’s get ourselves an AdonisJS project to work with, for simplicity's sake let’s create a new one. I’ll create my project with the name “adonis-vue3-ts-example” using the command below, feel free to name yours whatever you'd like.
npm init adonis-ts-app@latest adonis-vue3-ts-exampleCopied!
Once executed, this will ask us a few questions on how we want our project set up. The only answers that matter for this lesson are that you should use the web project structure and you should configure Webpack Encore.
❯ Select the project structure · web ❯ Enter the project name · adonis-vue3-ts-example ❯ Setup eslint? (y/N) · yes/no, your preference ❯ Configure webpack encore for compiling frontend assets? (y/N) · yesCopied!
Once you run through those questions, it’ll begin installing the required dependencies and creating our project based on our selections. Once that finishes, go ahead and change into your project’s directory using the below.
cd adonis-vue3-ts-exampleCopied!
Installing Vue 3 Dependencies
Next, let’s go ahead and get all the dependencies we’ll need for our Vue 3 TypeScript application to run and build successfully.
npm i vue@next vue-loader@next @vue/compiler-sfc @vue/tsconfig ts-loader@^9.0.0Copied!
vue@nextwill install Vue 3vue-loader@nextis so Webpack can understand Vue@vue/compiler-sfcis used to compile single-file components into JavaScript@vue/tsconfigis the TypeScript config we’ll extend later in this lessonts-loaderis so Webpack can understand TypeScript
Creating Our Vue 3 Application
Okay, so now we’ve got our project created and everything we’ll need to be installed. Let’s next just focus on getting a normal Vue 3 application up and running within our AdonisJS project. Then, after we have that setup, we’ll sprinkle in TypeScript.
Enabling Vue Loader in Webpack
First, we’ll need to enable Vue Loader inside our webpack.config.js file. This will be commented out around line 184; all we need to do is uncomment this block.
// webpack.config.js @ 184 // Encore.enableVueLoader(() => {}, { // version: 3, // runtimeCompilerBuild: false, // useJsx: false // }) Encore.enableVueLoader(() => {}, { version: 3, runtimeCompilerBuild: false, useJsx: false })Copied!
Setting Our Vue App’s Mount Element
Next, we’ll need an element for our Vue application to mount onto. We can just use the welcome.edge file for this to keep things brief.
Let’s go ahead and remove everything inside <main> and add the id of “app” to the main element.
{{-- resources/views/welcome.edge --}} <!DOCTYPE html> <html lang="en"> <head> <meta charset="UTF-8"> <meta name="viewport" content="width=device-width, initial-scale=1.0"> <title>AdonisJS - A fully featured web framework for Node.js</title> @entryPointStyles('app') @entryPointScripts('app') </head> <body> <main>...</main> <main id="app"></main> </body> </html>Copied!
Setting Our Vue App’s Entry Component
Let’s set this Vue application up as though we were going to use it as a single-page application (SPA), though we’ll skip over adding Vue Router for brevity's sake.
To start, let’s create a file called App.vue within our resources/js directory.
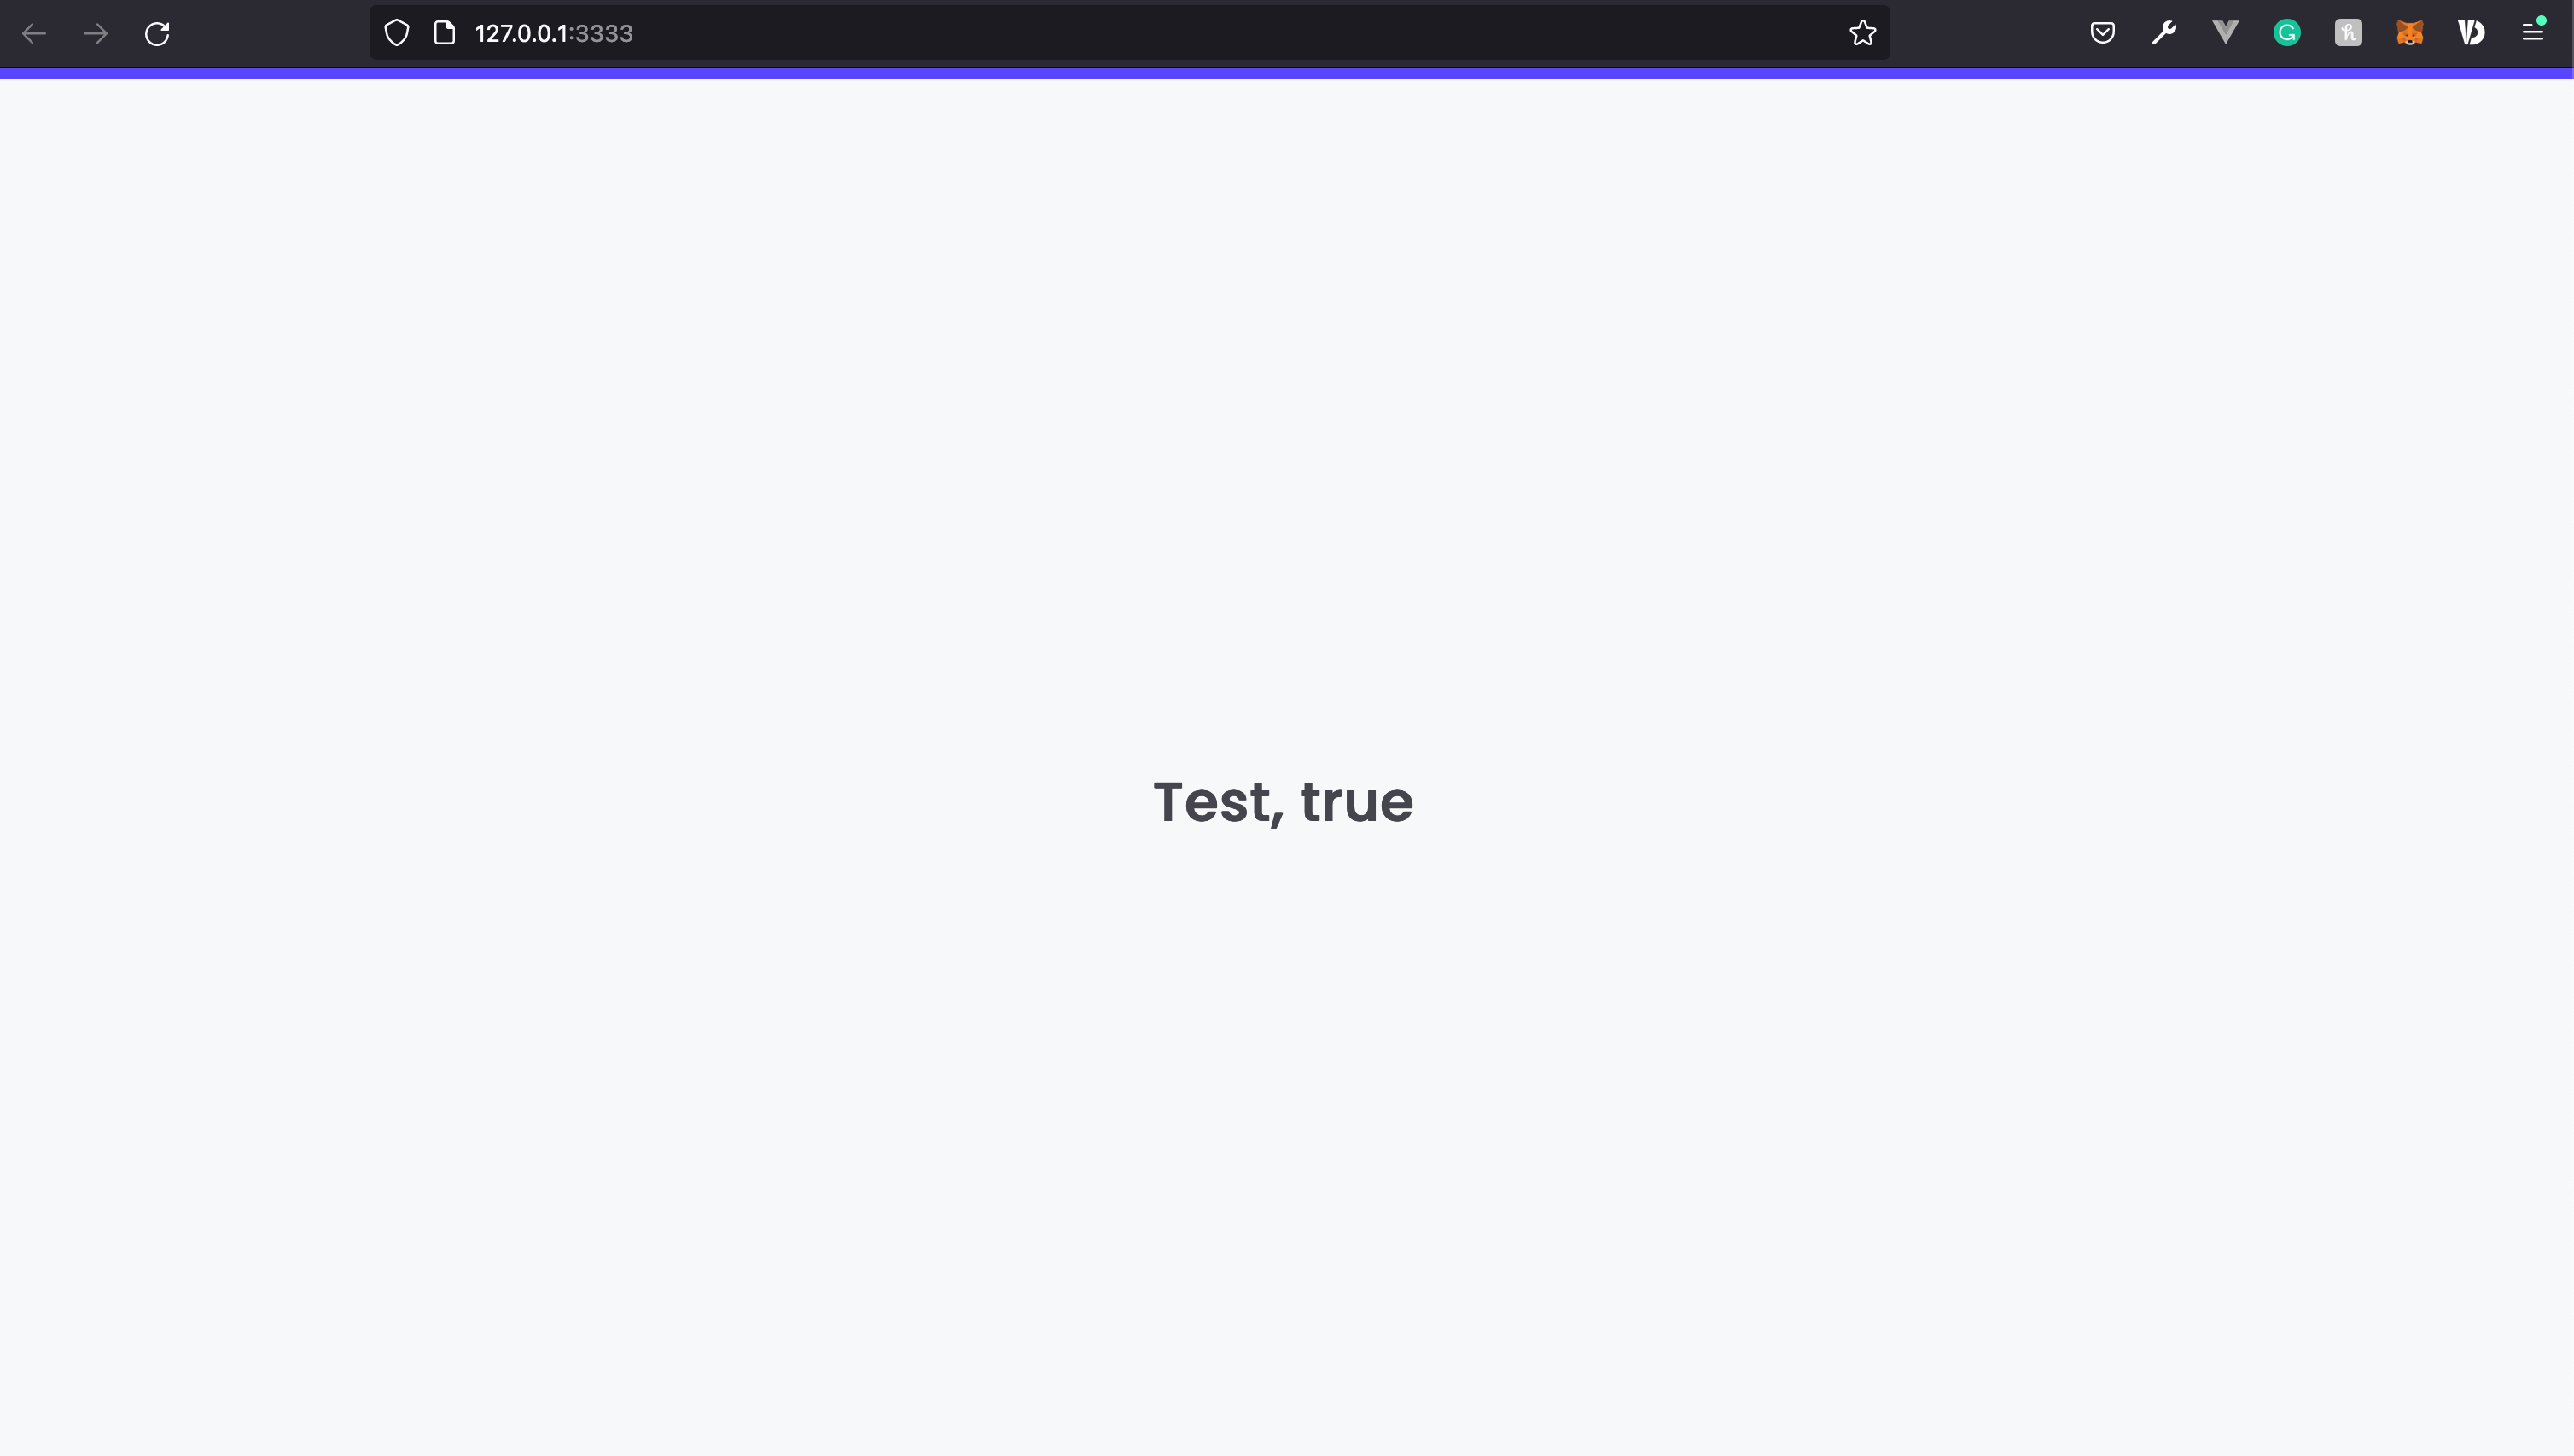
<template> <!-- resources/js/App.vue --> <div> <h1>Test, {{ isWorking }}</h1> </div> </template> <script setup> const isWorking = true </script>Copied!
We’ll give this some text and a data-bound variable to test and ensure everything works.
Initializing & Mounting Our Vue Application
Lastly, let’s jump into our resources/js/app.js file and create our Vue 3 application, mounting it to our <main id="app"> element and rendering our App.vue component as its content.
import '../css/app.css' import { createApp, h } from 'vue' import App from './App.vue' createApp({ render: () => h(App, {}) }).mount('#app')Copied!
In case you’re unfamiliar with h, it’s Vue’s render function. It allows us to utilize and render our Vue Single-File Components inside normal JavaScript/TypeScript. The second argument, where we have an empty object, is where you can place any props to be passed to the App component.
Testing It Out
Before we move into adding TypeScript, let’s boot everything up and ensure it’s working properly.
npm run devCopied!
Go ahead and open your app up in the browser, and if all is working properly you should see something similar to the below.
Adding TypeScript
Now that we’ve ensured Vue is working okay in our application, let’s go ahead and rig it up with TypeScript! We’ve already installed the ts-loader dependency we’ll need, however, if we attempt to utilize the tsconfig.json file AdonisJS has we’ll run into all sorts of issues. This is primarily because AdonisJS utilizes its IoC namespace and its TypeScript configuration is rigged up to incorporate that, but we won’t have access to that namespace on our Vue front-end.
Creating Vue’s TypeScript Configuration
We’ll need to create a separate TypeScript configuration for our Vue app. Vue also has plenty of specific compiler options it requires in order to function properly. They highlight these on their tsconfig repository on GitHub. We installed this package earlier in this lesson.
Let’s create a file at the root of our project called tsconfig.vue.json.
For TypeScript Versions 4 and lower:
{ // tsconfig.vue.json "extends": "@vue/tsconfig/tsconfig.web.json", "include": [ "./resources/js/**/*" ], "compilerOptions": { "paths": { "@/*": ["./resources/js/"] } } }Copied!
For TypeScript Versions 5 and higher:
{ // tsconfig.vue.json "extends": "@vue/tsconfig/tsconfig.dom.json", "include": [ "./resources/js/**/*" ], "compilerOptions": { "paths": { "@/*": ["./resources/js/"] } } }Copied!
Here we’re:
Extending Vue’s TypeScript config file for the web environment on our config.
Then, we’re restricting the config to only use files found within
resources/js. This will omit the AdonisJS files utilizing IoC Namespacing. If you have enums or config files you need to include, you can add them to yourincludearray.Lastly, we’re adding a shorthand path of
@/*pointing toresources/js. This will allow TypeScript to understand@aliased imports, for example:@/components/Test.vue.
Using Our Vue TypeScript Configuration
Now we need to tell Webpack that we want to use tsconfig.vue.json as our TypeScript config. So, jump back into your webpack.config.js file and chain the following off the enableVueLoader method near line 184.
// webpack.config.js Encore.enableVueLoader(() => {}, { version: 3, runtimeCompilerBuild: false, useJsx: false }) }).enableTypeScriptLoader(config => { config.configFile = 'tsconfig.vue.json' }).addAliases({ '@': join(__dirname, 'resources/js') }).configureDefinePlugin(options => { options['__VUE_OPTIONS_API__'] = true options['__VUE_PROD_DEVTOOLS__'] = false })Copied!
First, we’re enabling the
ts-loaderwe installed earlier and informing it to use ourtsconfig.vue.jsonfile for its configuration.Then, we’re adding the
@alias and pointing it toresources/js. This is what actually enables us to use aliased imports, like:@/components/Test.vue.Lastly, we’re providing some options to Vue to enable the options API and disable the dev tools on production builds. This part isn’t TypeScript specific, but we’ll add it here anyways.
Define A Type For Single File Components
Next, we'll need to define a TypeScript type for files ending with the .vue extension. Without this, we'll get a TypeScript error on our App.vue import stating that it couldn't find the file. So, let's create a new file at resources/js/index.d.ts.
// resources/js/index.d.ts declare module '*.vue' { import type { DefineComponent } from "vue" const component: DefineComponent<{}, {}, any> export default component }Copied!
With this, we're defining the import of *.vue import files to be of type DefineComponent. Since this is within our tsconfig's includes pattern, this should get auto-included when our assets are built.
Converting To TypeScript
Now it’s time to switch to using TypeScript! First, let’s rename our app.js file to app.ts.
// rename the file

resources/js/app.js
resources/js/app.ts
We’ll also need to update this within our Webpack Configuration, around line 48.
// webpack.config.js Encore.addEntry('app', './resources/js/app.js') Encore.addEntry('app', './resources/js/app.ts')Copied!
Lastly, let’s set Vue app’s entry component to use TypeScript by setting the language to TypeScript.
// resources/js/App.vue

<script setup>
<script lang="ts" setup>
  const isWorking = true
</script>
And, that should do it! You should now have TypeScript setup within your Vue 3 application. Go ahead and boot your server up and verify that you see the same thing as before. If you do, congratulations!
Testing A Vue Component
Lastly, let’s go ahead and add an additional component just to ensure our aliasing is working okay and to double-check single-file component imports.
So, let’s create a new component file at resources/js/components/Test.vue. Remember to set it’s lang="ts" to enable TypeScript inside the component.
<template>
  <!-- resources/js/components/Test.vue -->

  <div>
    <h3>This is a test if this is working, you'll see the date below:</h3>
    <div>{{ dte }}</div>
  </div>
</template>

<script lang="ts" setup>
  const dte = new Date()
</script>
Then, let’s import it and use it within our App component.
<template> <!-- resources/js/App.vue --> <div> <h1>Test, {{ isWorking }}</h1> <Test /> </div> </template> <script lang="ts" setup> import Test from '@/components/Test.vue' const isWorking = true </script>Copied!
Lastly, check it out in the browser to ensure you’re seeing the contents of the Test.vue component without error.
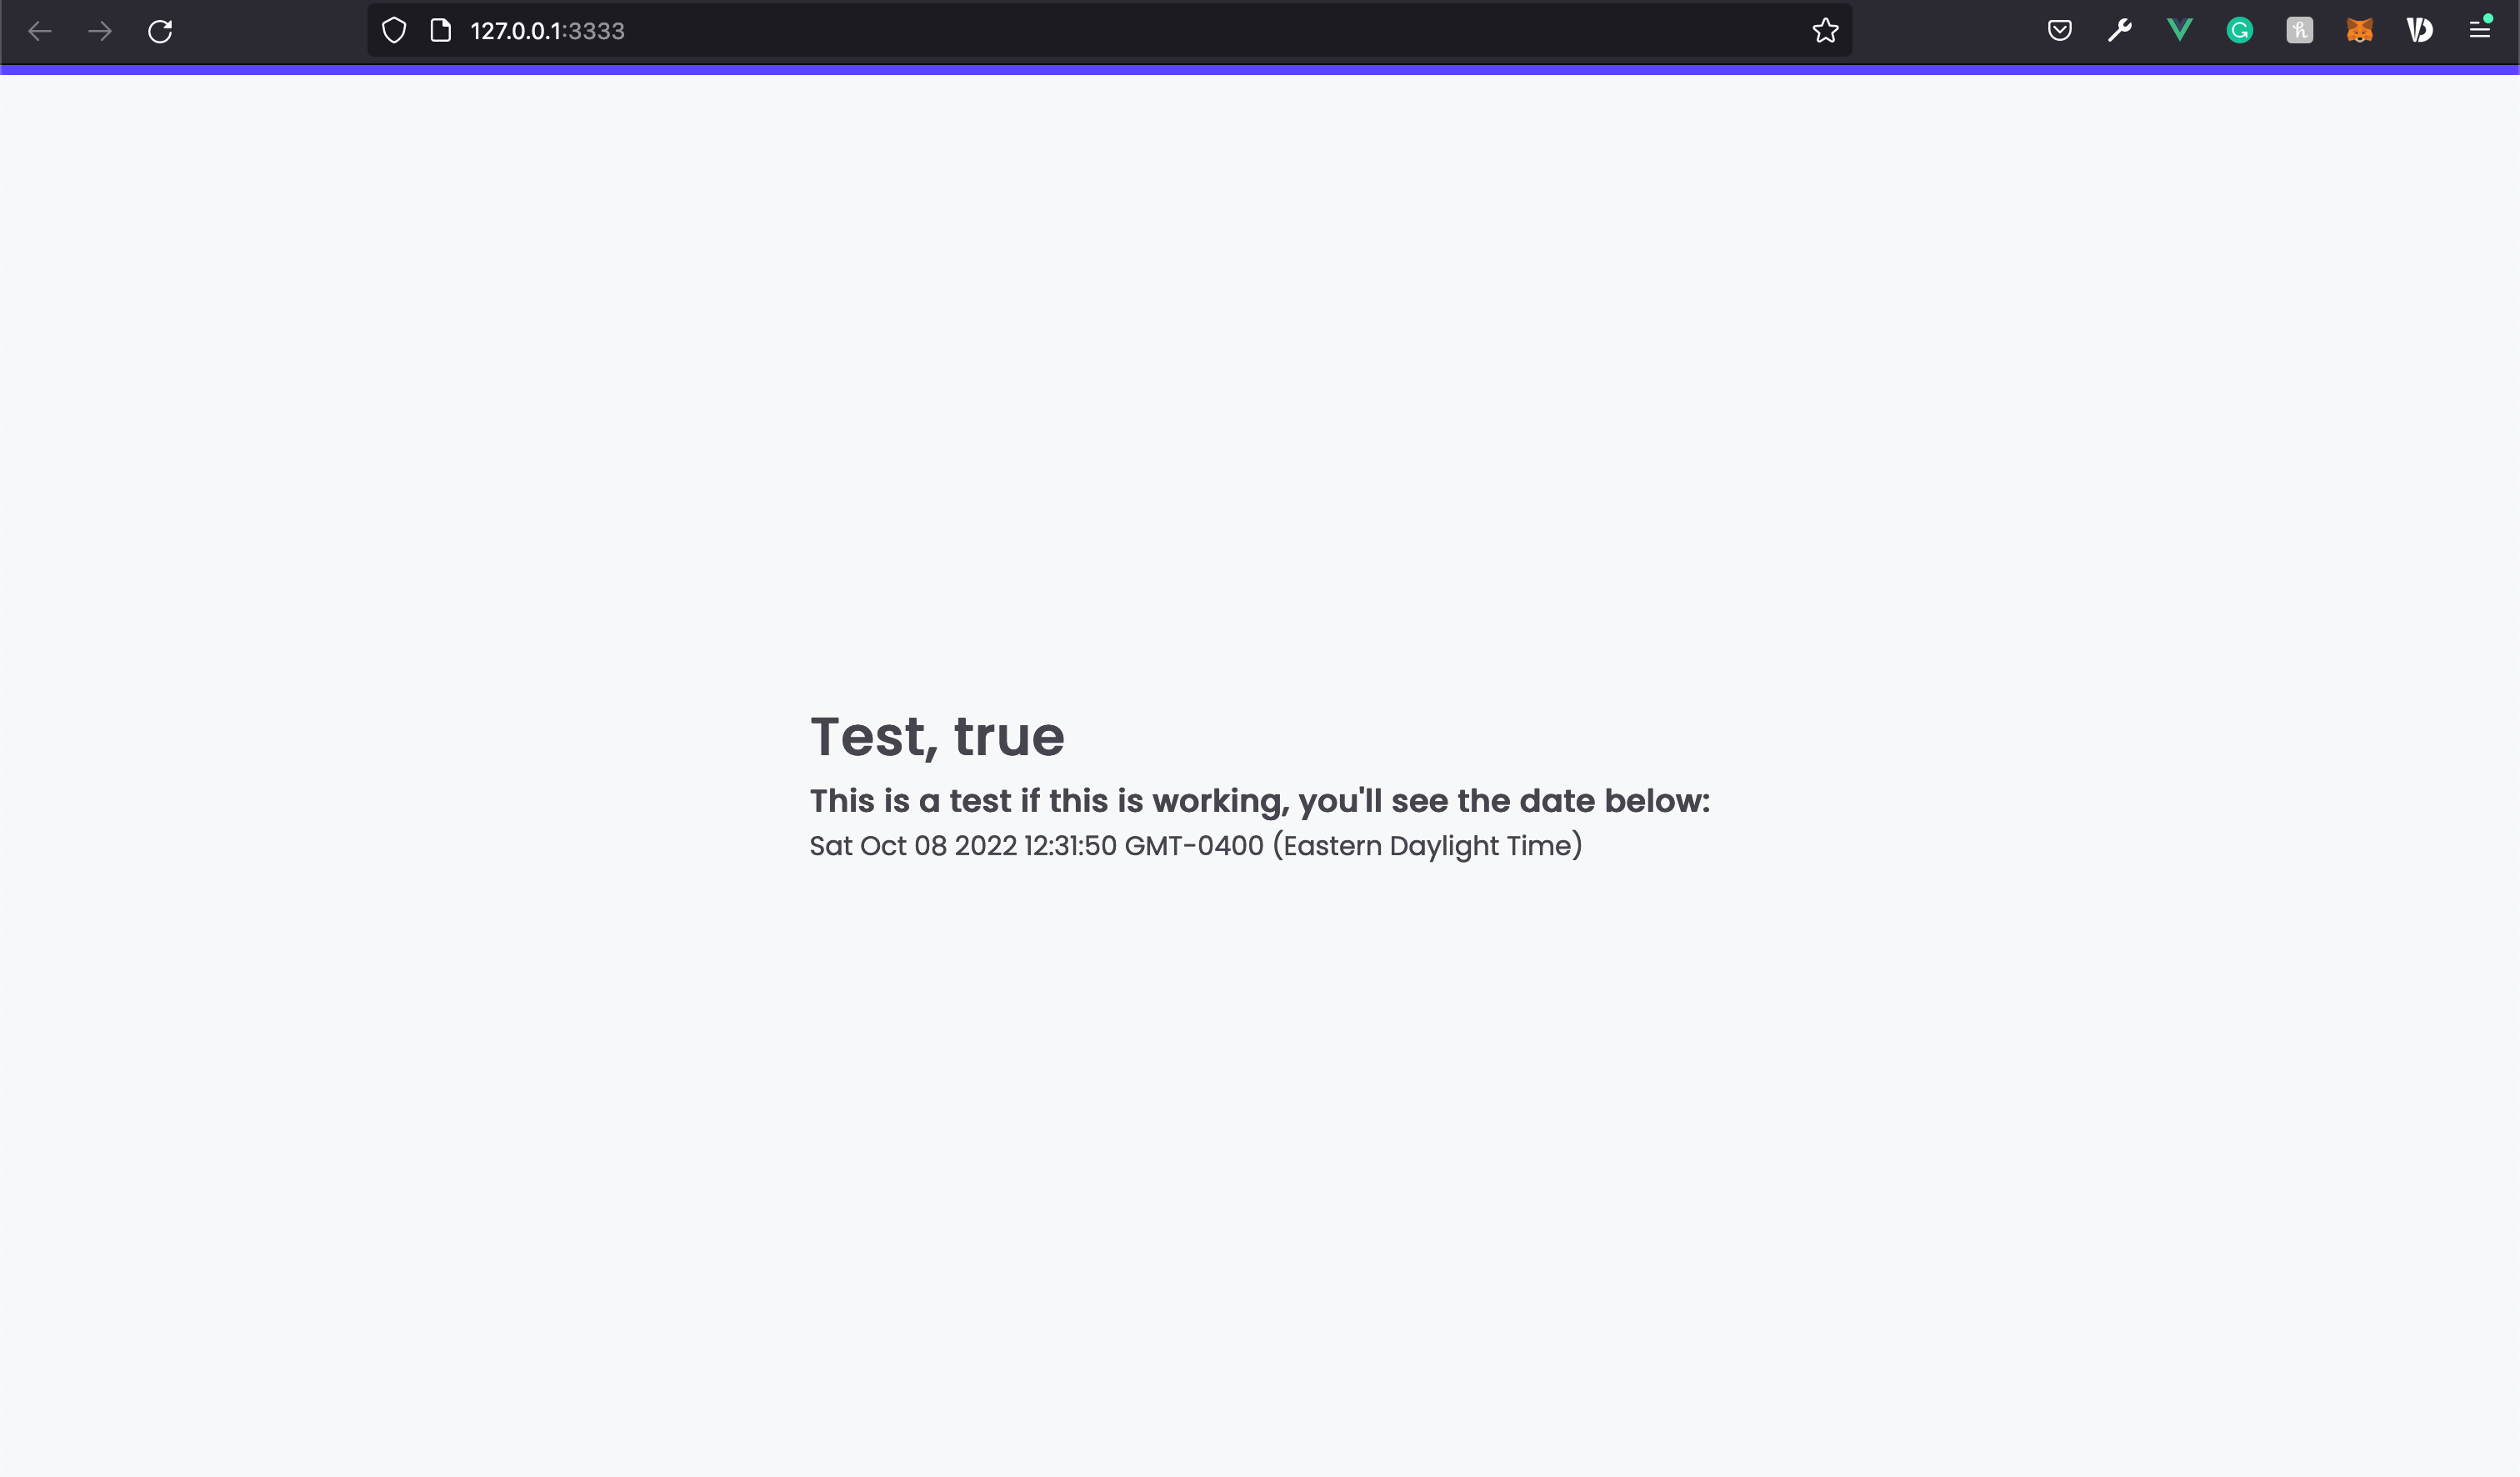
If your screen looks similar to the above, congratulations! You now have a Vue 3 application utilizing TypeScript inside your AdonisJS project.